
This item is eligible for free shipping
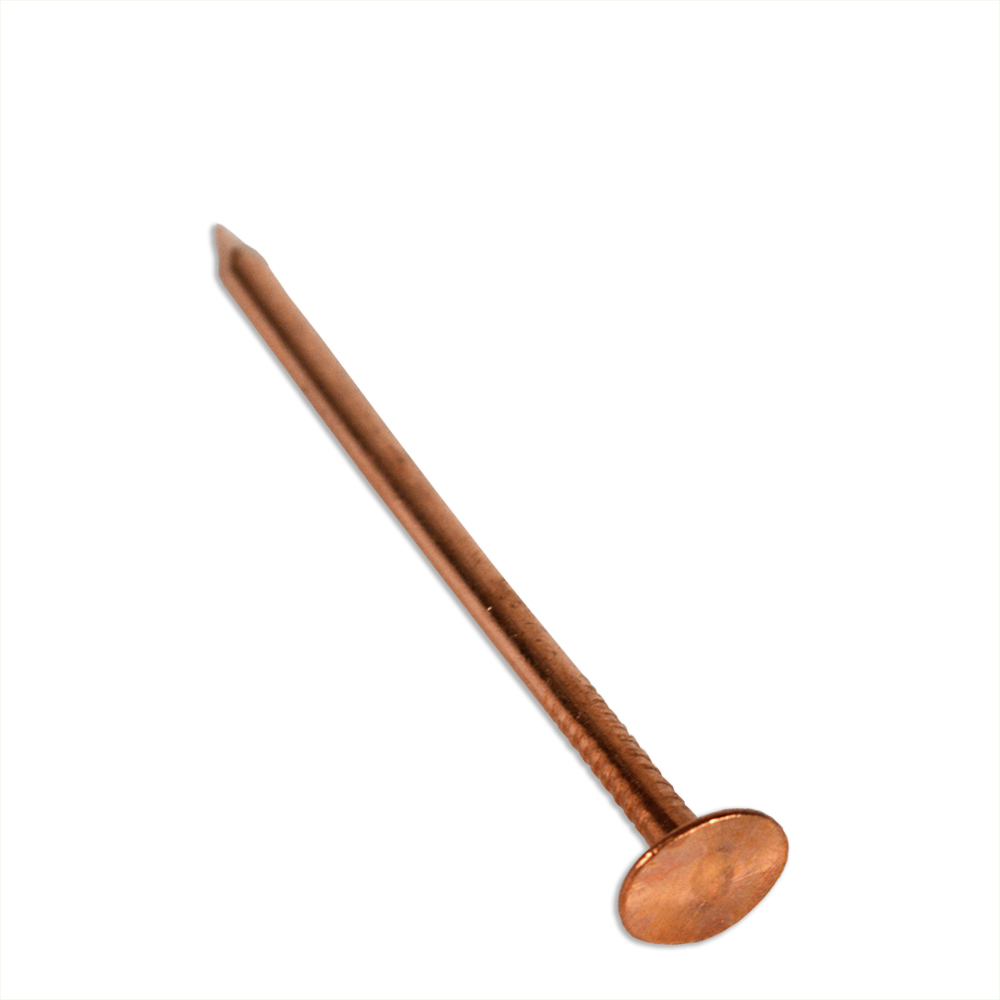
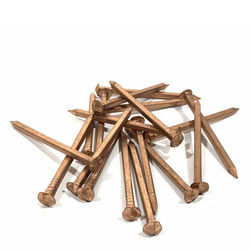
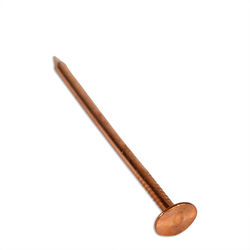
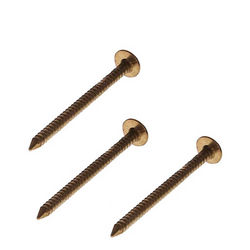
Traditional copper cut nails are used with matching copper roves to form a copper rivet. These nails are extremely robust, easy to drive and when the wood fibers become damp and swell, will never work loose.
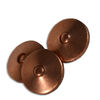
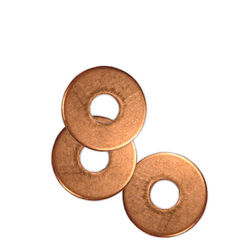
Copper roves are slightly conical washers. A copper nail is hammered through the joint, a rove is pushed over the end (concave side inward) and the nail is peened over to form a copper rivet.
| Item Number | Rove OD (inch) | Fits Nail Gauge |
|---|---|---|
| NCRV14 | 5/16" | 14 |
| NCRV13 | 3/8" | 13 |
| NCRV12 | 7/16" | 12 |
| NCRV10/11 | 1/2" | 10/11 |
| NCRV7/8 | 5/8" | 7/8 |
| NCRV6 | 3/4" | 6 |
Riveting is a matter of through nailing two pieces of wood, slipping a washer over the pointed end of the nail, pushing it down the shank against the wood and then nipping off the excess nail leaving just enough excess to peen over the washer to lock it tight.
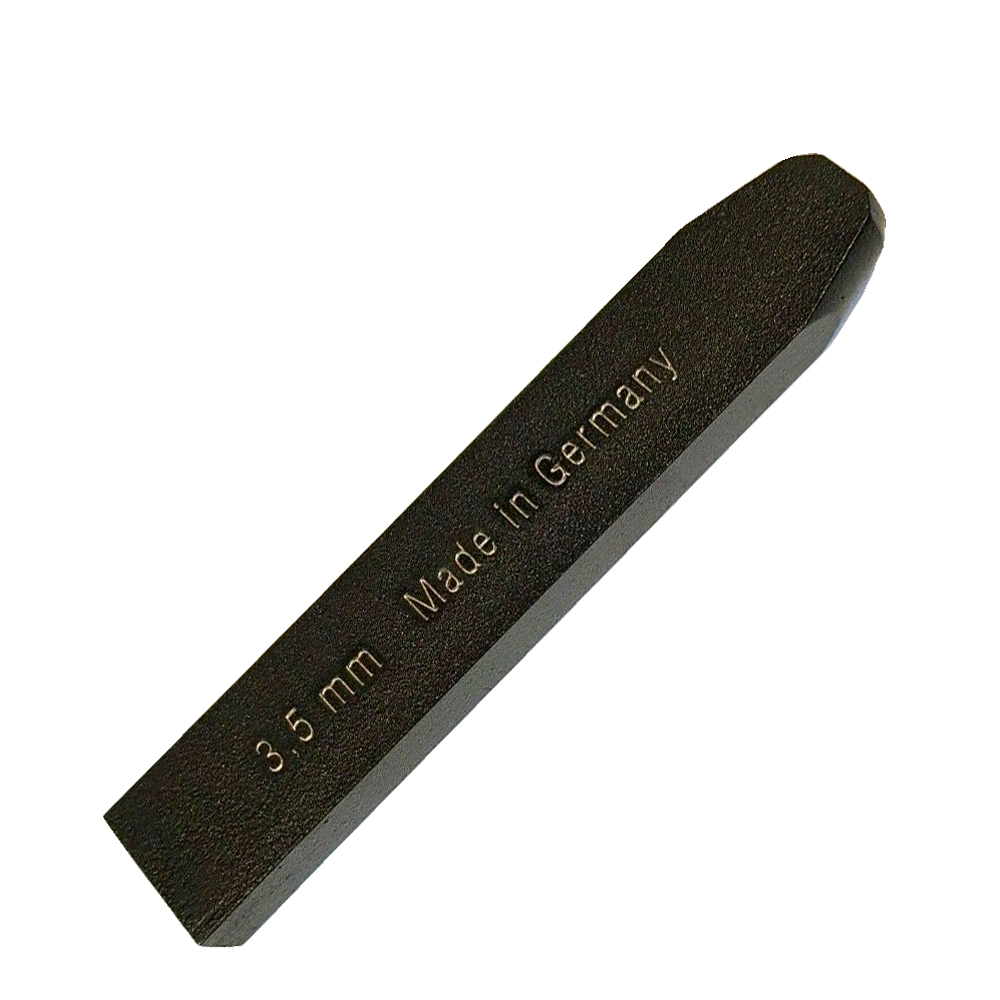
All copper riveted connections are made using two parts: nails; called the "rivet" and washers; called "burrs" or "roves". The rivets are generally just copper common nails; however, European boat-builders generally prefer the conical head and square shank of the Rose Head Boat Nail. Either way, the nail goes into the slightly undersized pre-drilled holes and through the pieces of wood to be joined. A burr with a slightly undersized center hole; to provide an interference fit, is then placed over the nail point to be driven down the nail shank. At this point you will need a Rove Set tool. We offer one here but you can make your own with a piece of rounded hardwood or a 1" hardwood dowel about 6" long. Drill a hole in one end, on center into the end grain deep enough to accommodate the exposed length of nail and size it slightly larger in diameter than the nail shank, and now you have a Rove set.
A heavy back-up tool is required to "buck-up" the head of the nail prior to setting the burr and forming the completed connection. We offer a heavy (4) pound hammer with a short handle suitable for this application. Now, to make the copper rivets connection, first tap the nail through the pre-drilled pieces of wood to be joined and back-up the head with the "buck" hammer. Next, place the burr over the nail and drive it down the exposed nail shank using the rove set tool applying light taps from a hammer. The burr should seat firmly against the wood. Using a set of diagonal cutters nip off the excess nail leaving about a nail diameter in length beyond the burr to peen over. Holding the "buck" hammer hard against the nail head, take a lightweight ball-peen hammer (STN-54016) and start tapping with the flat end to mushroom over the cut nail stub.
Finally, use the rounded end of the ball-peen hammer to tap the mushroomed stub around the edges forming the end to locking down the burr and drawing up the connection.


Reviews for Copper Roves
Verified Purchase
This was a restoration of a old dingy the copper made the look come together


Was this review helpful to you?
Verified Purchase
I have to enlarge each hole in order to drive my nail through them.
Was this review helpful to you?
Many terrific uses in jewelry making!
Was this review helpful to you?
